Making spritesheet from images
createSpritesheet utility
The createSpritesheet is a helper function that facilitates the creation of spritesheet metadata and a Texture which are essential for configuring
InstancedSpriteMesh. The process involves the following steps:
-
Initialization: Begin by invoking the
createSpritesheetfunction. This function is the starting point for creating your spritesheet. -
Adding Images: For each image you wish to include in the spritesheet, call the
addfunction on the created spritesheet. This function requires specific parameters:imageUrl: The URL or path to the image file.configobject consiting of:type- choose whether you’re providing how many rows and columns are in an image"rowColumn"or giving the size of a single frame for the builder to interpolate from"frameSize"widthandheightrefer to eithercolumnandroworimageWidthandimageHeightdepending on what you chose intype/* The configuration object is structured as follows: */ config: { type: "rowColumn" | "frameSize"; width: number; height: number; }
meta: either a string to name an animation, or an array of names + framerange in case of defining multiple animations in one filetype AnimationMeta = | { name: string; frameRange: [from: number, to: number] }[] | string;
-
Build: After adding all of the animations, call
build(). ThecreateSpritesheetfunction returns a promise. This promise resolves to an object containing atexture: THREE.Texture, which can be applied as the map property of a material, and aspritesheetfor use in the InstancedSpriteMesh.
Important Note: The utility currently supports only the rowMajor layout. This means the frames in the spritesheet are ordered from left to right and top to bottom, progressing row by row. Adjustments to support different frame sequencing may be added in future updates.
Generating slim sprite geometries
createSpritesheet integrates diet-sprite library to support generating slim geometries. It results in more vertices than for example quad or
triangle geometries, but can lead to significant performance improvements because of fewer fragments being discarded. It works by drawing all spritesheet frames on top of each other, then tracing a shape around it.
You enable it by providing an options object as an argument to the .build step of the createSpritesheet builder utility.
When you do that, the build function, besides texture and spritesheet will also return a geometry that you can use in InstancedSpriteMesh constructor options.
	type CreateSpritesheetBuildOptions = {
		makeSlimGeometry?: boolean,
		slimOptions?: {
			vertices: number,
			alphaThreshold:number
		}
	}
const flyerSpritesheet = createSpritesheet()
.add(
'/textures/sprites/Firework.png',
{
type: 'rowColumn',
width: 10,
height: 1
},
'firework'
)
.build({
makeSlimGeometry: true,
slimOptions: {
alphaThreshold:0,
vertices: 8
}
});
Example
This example shows how to create a spritesheet using the Flying Eye character from the collection available at https://luizmelo.itch.io/monsters-creatures-fantasy. The Flying Eye character includes four separate animation files. The goal is to merge these files into a single texture and establish the necessary metadata for it.
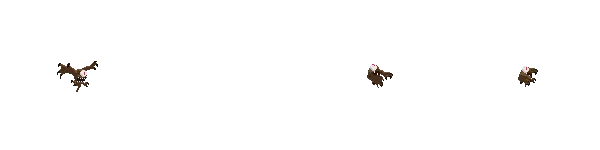
Attack.png

Flight.png

Death.png
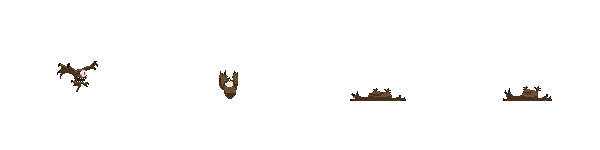
Hit.png
Example code: multiple files
import { createSpritesheet } from '@threejs-kit/instanced-sprite-mesh';

const spritesheet = await createSpritesheet()
		.add('fly', '/Monsters_Creatures_Fantasy/Flying_eye/Flight.png', {
			type: 'rowColumn',
			width: 8,
			height: 1
		})
		.add('attack', '/Monsters_Creatures_Fantasy/Flying_eye/Attack.png', {
			type: 'frameSize',
			width: 150,
			height: 150
		})
		.add('death', '/Monsters_Creatures_Fantasy/Flying_eye/Death.png', {
			type: 'rowColumn',
			width: 4,
			height: 1
		})
		.add('hit', '/Monsters_Creatures_Fantasy/Flying_eye/Hit.png', {
			type: 'rowColumn',
			width: 4,
			height: 1
		})
		.build();
We call createSpritesheet and start defining metadata for each of the sprite files.
- first
addaFlight.pngfile - we name the animation asflyand userowColumntype. We then providewof 8 - because there are 8 columns (frames left to right) andhof 1 - because there is only one row of animation - for the second animation -
attack- I’m going to use aframeSizetype. So now we providewandhin pixels of how big each frame is, then the builder calculates columsn and rows internally. - Then I add
deathandhitanimations, just like I did the first one. Notice that these animations have a different number of columns, but that’s fine. Each of your animations can have different column and row numbers.
Example code: single file
import { createSpritesheet } from '@threejs-kit/instanced-sprite-mesh';

const spritesheet = createSpritesheet()
		.add(
			'/textures/sprites/cacodaemon.png',
			{
				type: 'rowColumn',
				width: 8,
				height: 4
			},
			[
				{ name: 'fly', frameRange: [0, 6] },
				{ name: 'attack', frameRange: [8, 14] },
				{ name: 'idle', frameRange: [16, 20] },
				{ name: 'death', frameRange: [24, 32] }
			]
		)
		.build();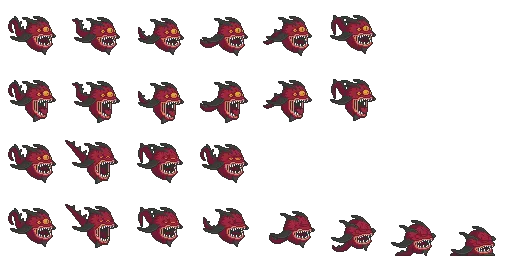
Like in previous example, we call createSpritesheet, but this time we use one spritesheet file that already contains multiple animations. Instead of using a string as the last argument of the function, an array of animations is declared.
Each of the entries has a name and a frameRange that defines at what frameId given animation starts and ends.